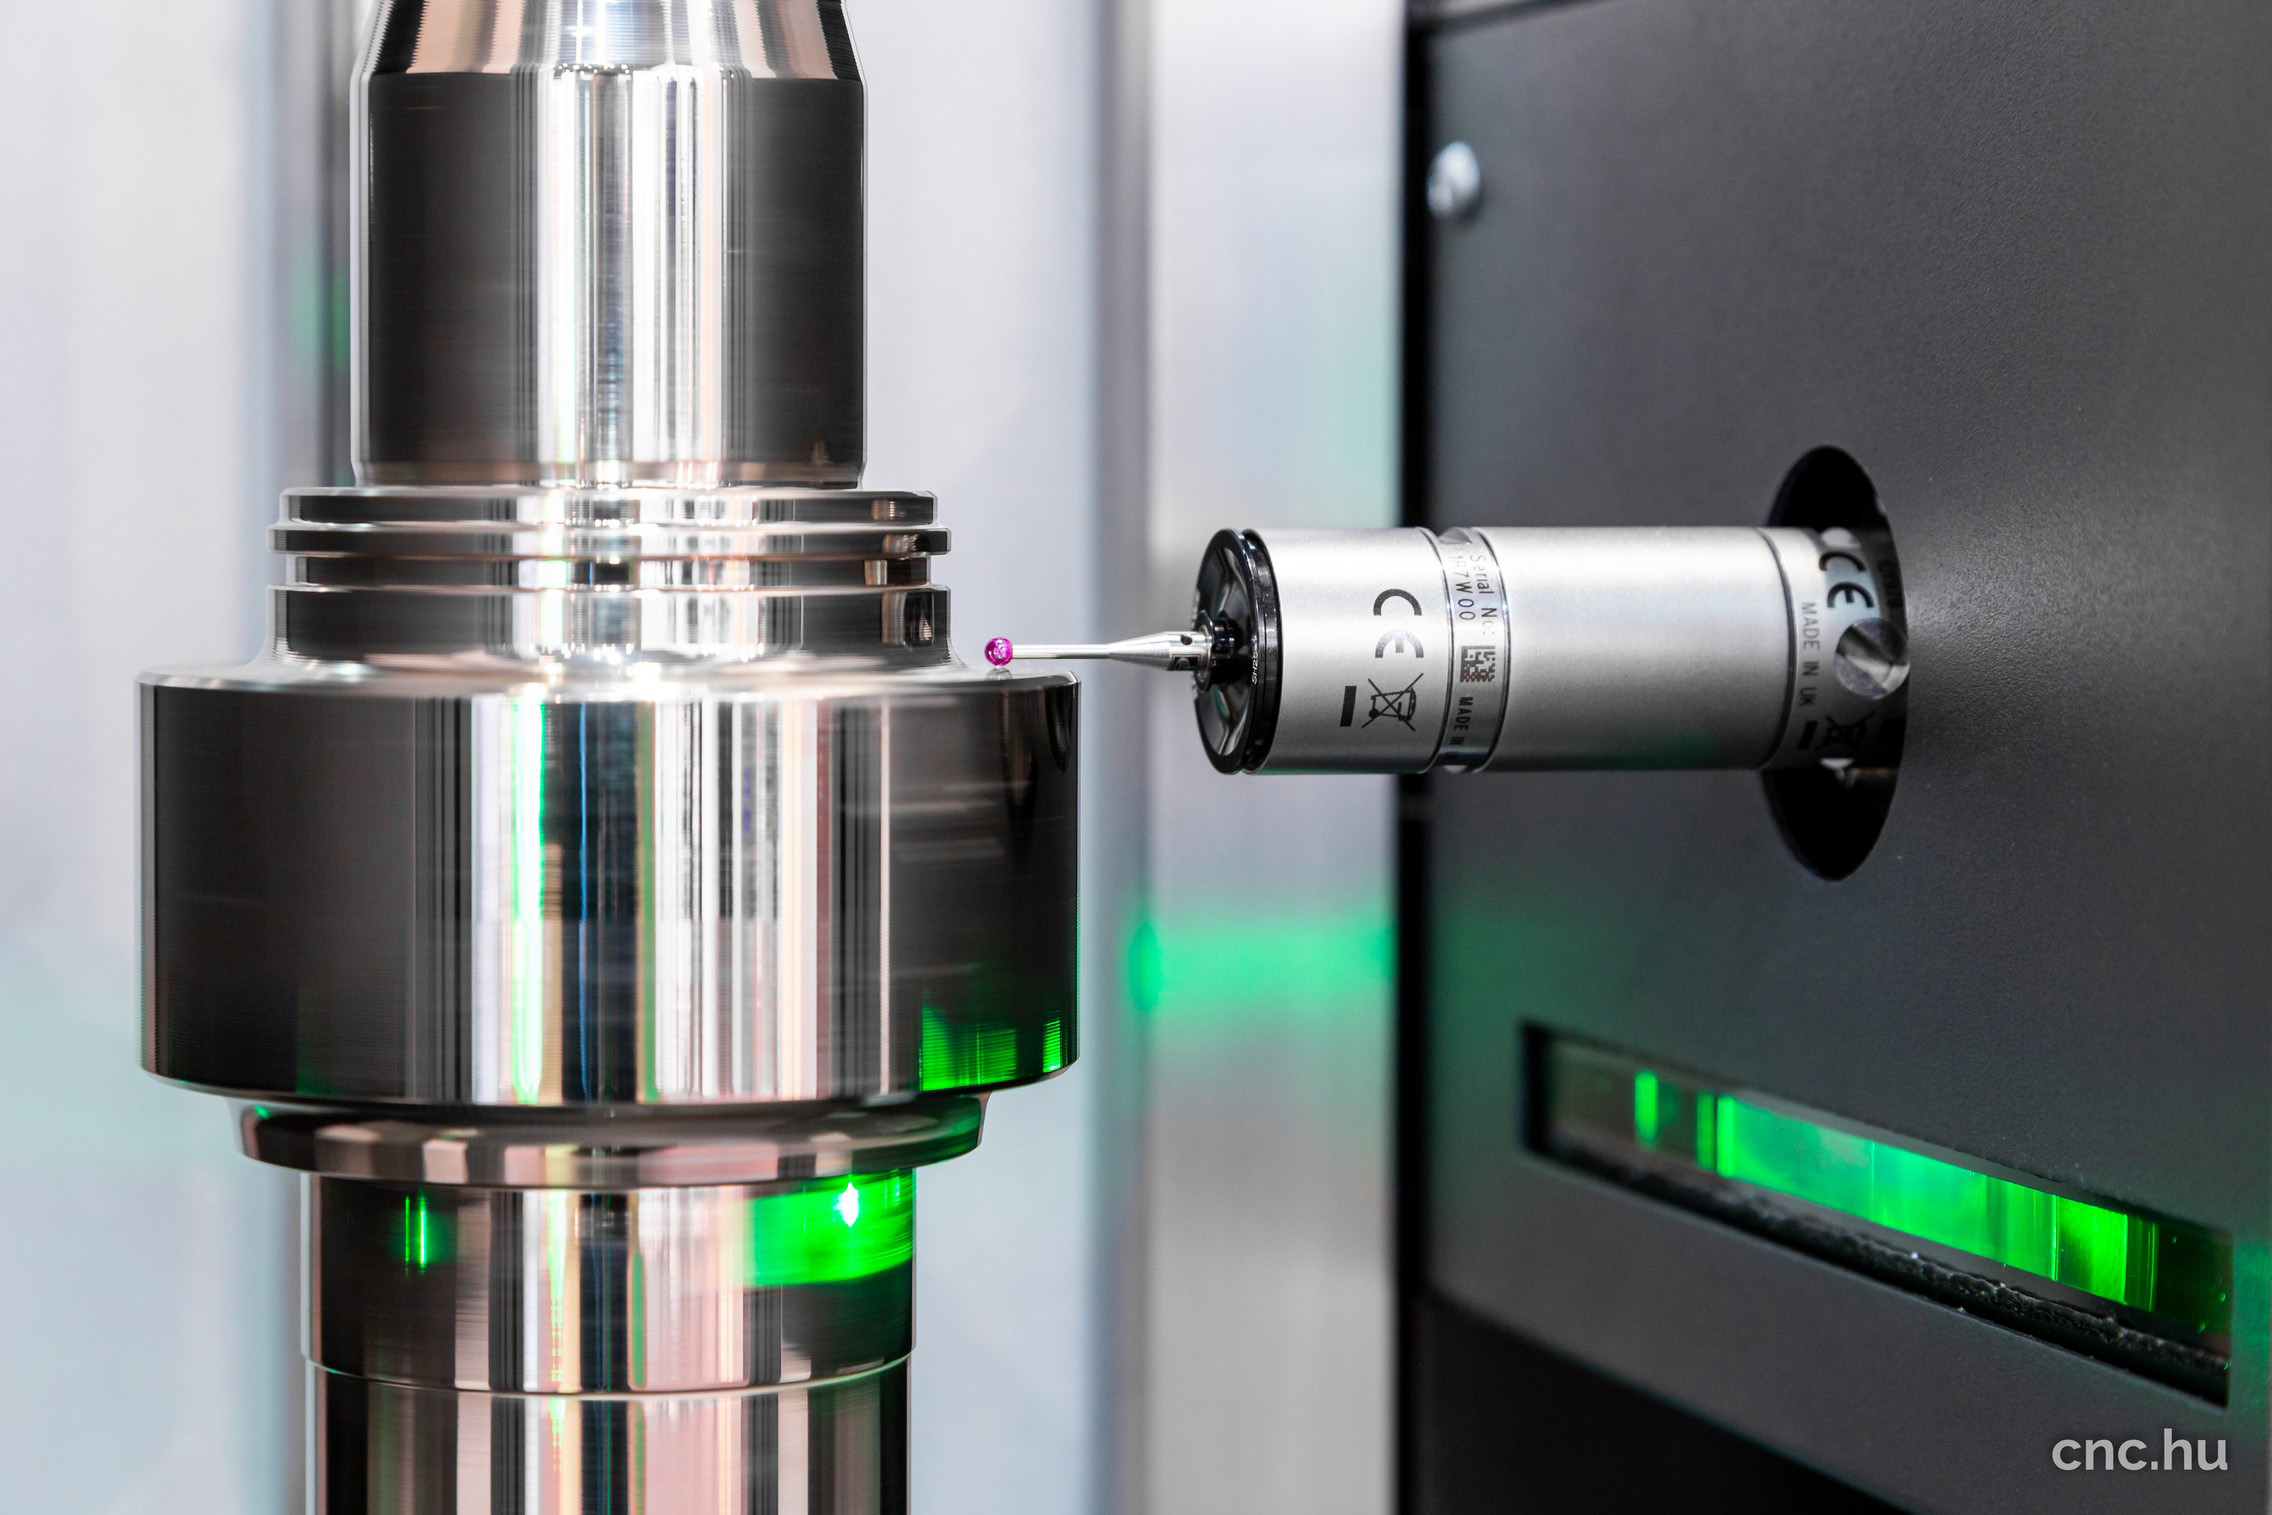
With every new addition to a manufacturing shop floor, there are questions that need to be asked. Will we see a return on this investment? Is it meeting a long-term need, rather than only being useful in the short term? Is this better than the traditional way of doing things?
When it comes to turned part measurement, the idea of investing in a VICIVISION measurement machine will no doubt likely come with similar questions. The answers to each of the questions above are most certainly ‘yes’, and we can explain why a measuring machine beats out the traditional methods by a long shot.
Unmatched efficiency
A measuring machine works faster, more accurately, and more reliably than a person. Even a team of people armed with micrometers and height gauges can’t achieve what a single VICIVISION machine can do.
The difference is taking individual measurements from minutes to seconds, which quickly mounts up over time – particularly when it means less time spent moving and switching tasks. VICIVISION machines are built to withstand production environments, so there’s no need to leave to carry out QC duties.
Technical accuracy
VICIVISION machines scan a part and gather data with the touch of a button. No complicated set up or calibration is needed, and the process is fully repeatable. Not only is the methodology accurate, but the tools are top notch.
With LED illumination, intuitive software, and telecentric lenses, VICIVISION machines like the Metrios or those of the Techno Series pack intuitive solutions to get the absolute best out of a short working timeframe. Telecentric lenses hold a constant, non-angular field of view, only taking in light that travels parallel to the optical axis. This means more defined edges in imaging, and minimised distortion from differences in distance and position in regards to the lens.
Fast returns
Quicker and more accurate measurements mean optimised operation time and fewer mistakes. Less scrap and faster job completion mean a reputation for right-first-time accuracy and repeated business from trusting clients. Essentially, measuring machines make up for their investment cost quickly.
To increase capacity, manufacturers typically look to purchasing extra cutting and/or production machines. However, eliminating human error and operator bias in quality control phases is the best way to gain further value from existing machines and manufacturing processes. This can be achieved on one machine, with repeatable and fast results.
Traditional methods of measuring turned parts are slow, time-consuming, and unreliable. Manual gauges and rulers can be misread and misinterpreted, and depending on the number of available operators, may need to be put off for other tasks. Eliminate these issues and more by looking into measuring machines from VICIVISION today.


