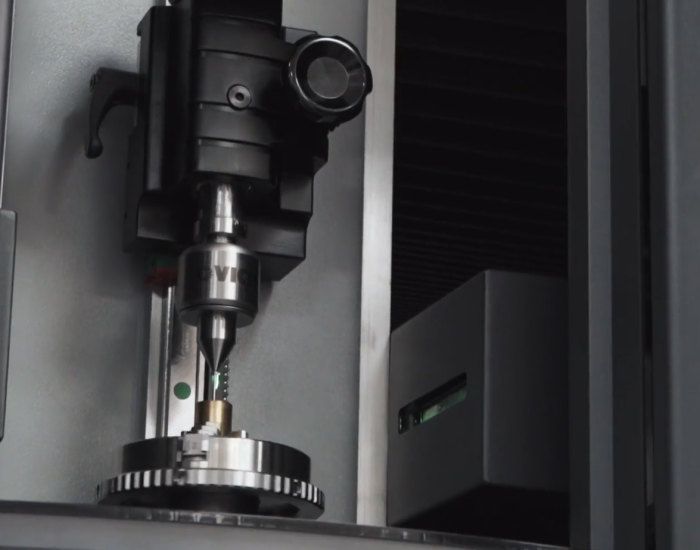
Traditional measurement and inspection methods, such as; manual inspection, functional testing, and non-destructive inspection, have been used in the engineering and manufacturing industry for many years. However, these methods are no longer fast or accurate enough to meet the demands of modern manufacturing. Traditional methods are prone to human error and can be time-consuming, preventing companies from reaching their full potential.
VICIVISION UK turned part measurement machines offer a number of advantages over traditional measurement machines. VICIVISION machines are significantly faster and more accurate than traditional methods, offering repeatability and consistency, whilst eliminating the risk of human error. They provide users with real-time data analysis and decision-making tools, allowing them to quickly identify and correct any quality or production issues.
By using VICIVISION turned part measurement machines, manufacturers can reduce inspection times, improve quality control, and boost productivity. This can lead to significant cost savings and improved product quality. VICIVISION UK has a solution for all, covering all turned-part measurement requirements across the 3 machine ranges: Techno; PRIMA; X-Series.
They offer a number of advantages over traditional methods, making them an ideal choice for manufacturers who are looking to improve the quality and efficiency of both their turned-part measurements, as well as their production processes.

Here are the top 5 reasons why you should be choosing VICIVISION UK over traditional measurement and inspection techniques:
1.Speed
VICIVISION UK turned part measurement machines uses optical scanning technology to measure parts quickly and in a single pass, while traditional methods require multiple setups and measurements. A VICIVISION UK machine can measure a complex turned part in as little as 30 seconds, while a traditional measuring machine could take several hours.
2. Accuracy
VICIVISION UK turned part measurement machines ensure the highest precision measurements using high-resolution cameras and lasers to achieve accuracies of +/- 1 micron, while traditional methods often rely on mechanical probes that can be subject to wear over time and can only achieve accuracies of +/- 10 microns.
3. Quality of data analysis and decision making
VICIVISION UK turned part measurement machines provide users with real-time data analysis, allowing users to quickly identify and correct any quality or production issues. They generate comprehensive reports that can be used to track trends and improve manufacturing processes, enabling informed decision making from managers and across the shopfloor.
4. Repeatability and consistency
Traditional measurement methods can be more prone to human error, leading to inconsistent results and data. VICIVISION UK turned part measurement machines are highly repeatable and consistent, using automated measurement routines to eliminate the risk of human error and ensure results are standardised.
5. Optimising productivity
VICIVISION UK turned part measurement machines help manufacturers to optimise productivity by reducing inspection times and improving quality control. By using VICIVISION machines, manufacturers can catch and correct quality issues early on, before they become costly defects.


